Unless you’re in the construction or signage industry, you’ve probably never had to worry, or let alone think about how to install fence wrap on a fence.
For the most part, it is pretty straightforward to install fence wrap. We understand there are people who like to figure things out for themselves, and will probably have no problem installing their signage in theory. There are, however, things to be mindful of when it comes to the safety of: you (the installer), passersby, the fence, the signage itself, and also nearby property.
The main thing we want to achieve here is to ensure that your mesh will have the longest possible lifespan and that the fence wrap installation is done safely. The last thing you want to worry about is your fence blowing over, or your signage unhinging from the fence, causing potential damage to property or causing injury; this is why we have such strict laws in Australia.
Installing Fence Wrap: Step by Step
Tools required:
- Your printed roll of FenceWrap
- Qty 250 x 4.5mm or 5mm black UV cable ties (per 50m roll)
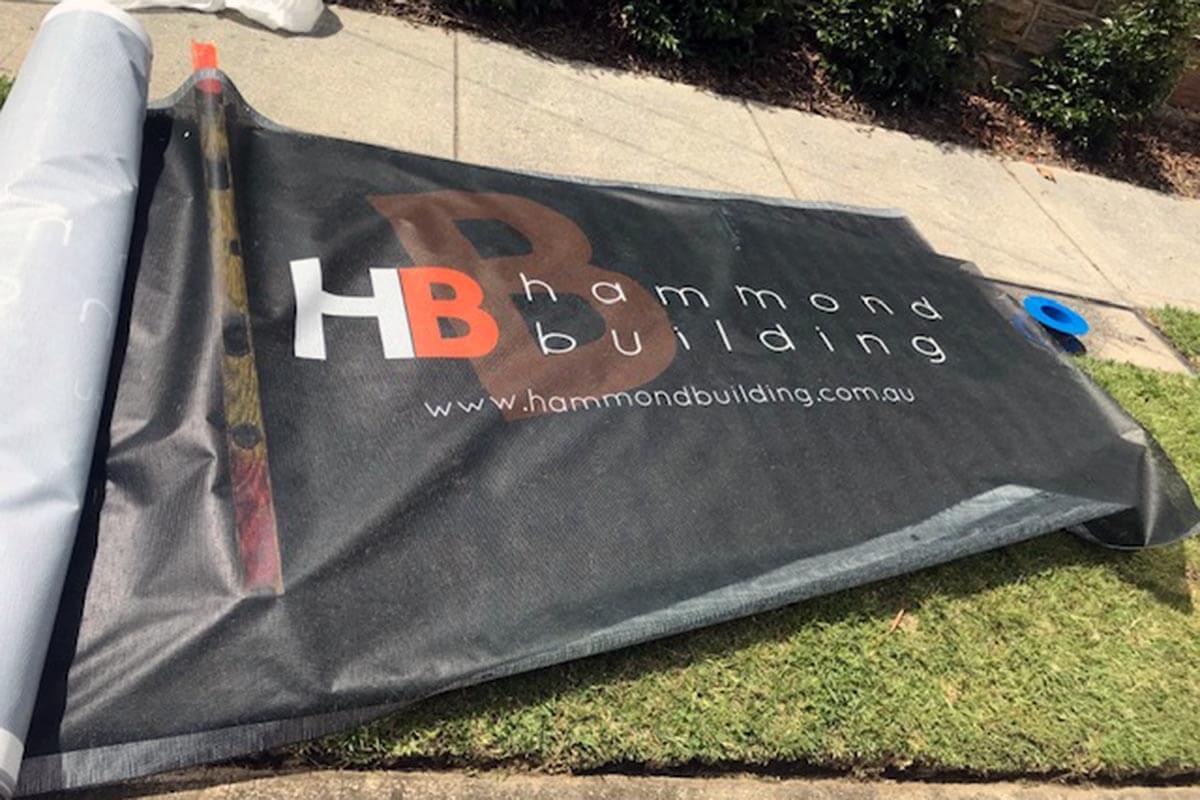
These instructions are designed for a full 50m roll of PVC banner mesh in mind. If your site is uneven, we would recommend having your printed mesh cut into shorter sections (which can be arranged during the ordering process). Cutting the mesh yourself is not recommended, as you will not have the edging and eyelets for a clean edge or an easy install.
We also don't recommend to install fence wrap alone; it is easier and safer to install fence wrap with two people.
Total time: 20 minutes
Locate the Eyelets
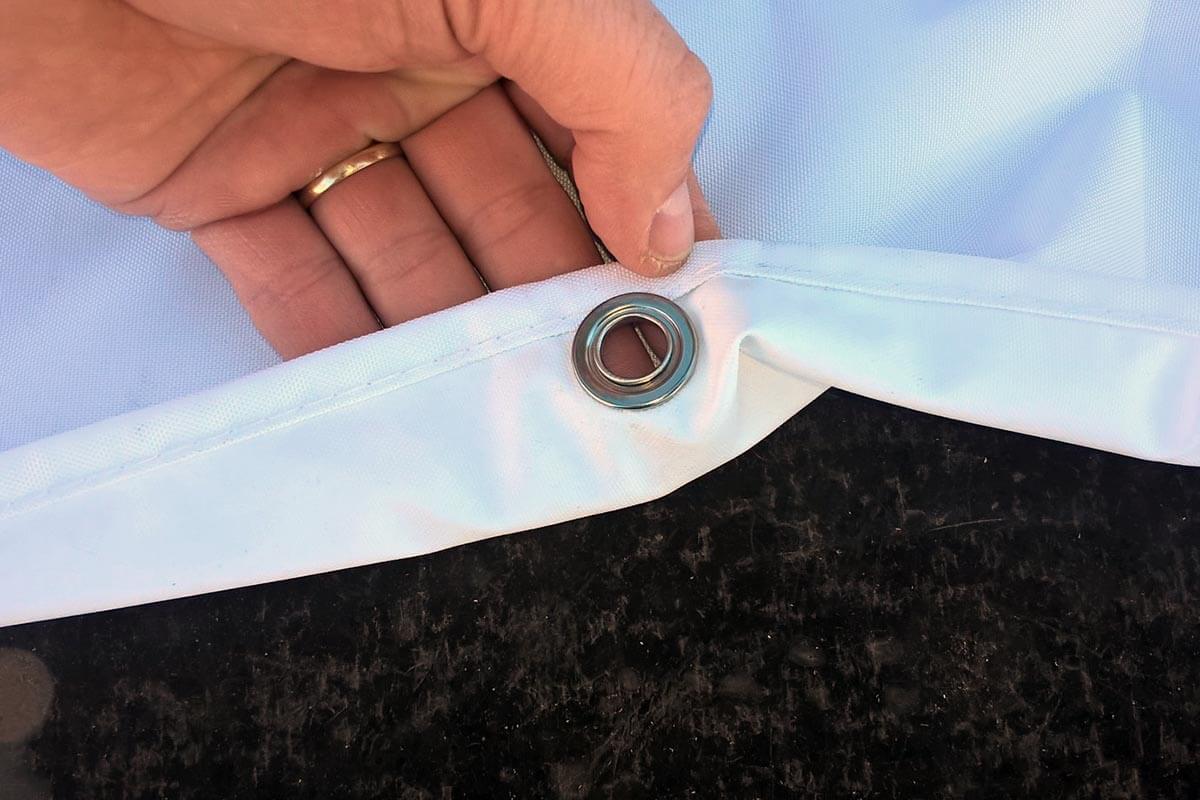
Eyelets are typically positioned every 50cm along the edging (sometimes only every 1m along the bottom). Ensure that the fence will have the ability to cater for these tie down points on the wrap.
It is important that every eyelet is secured with a cable tie, as any unsecured section of the printed mesh that flaps around in the wind can incur damage to the fabric or see the ink wear off.
Position the Roll
Firstly, take note of the printing as to whether you will install from the start or end of the fence.
There are two ways to go about installing fence wrap. The easiest is to lay the wrap on the ground (when dry), just in front of the fence. In wet conditions, stand the roll vertically against the fence, and unroll one small section of the signage.
Attach with Cable Ties

From one end, starting at the top corner of the roll, loosely attach a black cable tie through the eyelet and around the fence. We recommend using two cable ties for each corner of the wrap where possible, so that it can be secured to both the horizontal and vertical railings.
Do not tighten the cable ties all the way just yet, it is best to wait until you’ve completed the fence wrap installation against the fence, so you can ensure everything goes on straight.
Install Fence Wrap

Continue to unravel one small section of the wrap at a time (roughly 5-10m at a time is fine), loosely attaching cable ties, securing the top first, then the bottom.
Adjust and Fix Any Folds

Once you have attached the whole wrap against the fence, check over the signage to see if there are any folds that need straightening out. The cable ties can then be adjusted and secured tightly.
Finishing Up

Once you have double checked your fence wrap installation and everything is straight, secure all cable ties and cut off any excess strap.
Please note: Cable ties still need a bit of give as overly tight cable ties can wear and break under too much tension.
Why Cable Ties?
When it comes to installing fence wrap, cable ties are recommended over any other fastening tool. Cable ties are easy to use, strong, and flexible. Using screws and nails directly into the fabric will only cause a weak point in the material, making it more prone to tearing in windy conditions.
One thing to note when using cable ties, is to be sure not to overtighten. Cable ties can break under too much tension, so allowing a bit of give will ensure the cable ties are operating at their best.
Cable ties are also easy to remove. If a big storm is approaching, and you do not have the ability to take down the whole fence wrap quickly or safely, you can cut the bottom cable ties to allow the printed mesh to flap in the wind.
While it is not ideal for mesh to flap around in the wind over the long term, it is a quick and immediate solution to prevent any damage that could be caused by the wrap trying to resist strong, stormy conditions. The printed mesh can then easily be reattached again once it is safe to do so.
Conclusion
Installing fence wrap is one of the most cost effective advertising solutions money can buy. That being said, it is still an investment for many people, and it is one worth protecting.
When you’ve been in the industry for as long as we have, you can be sure that we’ve seen our fair share of incidents. Ensuring proper fence wrap installation will help you get the most longevity out of your printed mesh, as well as keeping safety of people and property at the forefront.

We don’t want to just sell you printed mesh, we want to make sure that you are covered every step of the way, so that you can be confident in the use of your product. If you are considering some printed fence mesh for your business, organisation, or cause, contact our friendly team to get a free quote and mock up today!
1300 55 82 47
AUSTRALIA WIDE DELIVERY